
The Honeywell T4 Pro Programmable Thermostat offers an intuitive, energy-efficient solution for home temperature control. Designed for easy installation and setup, it provides advanced features like programmable scheduling, energy-saving modes, and smart home integration, making it a versatile choice for modern heating and cooling systems.
1.1 Overview of the Honeywell T4 Pro Programmable Thermostat
The Honeywell T4 Pro Programmable Thermostat is a cutting-edge, user-friendly device designed to optimize home comfort and energy efficiency. It features a sleek interface, programmable scheduling, and compatibility with various HVAC systems. With its universal mounting system and on-screen installation guide, it simplifies setup for homeowners and professionals alike. The thermostat supports smart home integration, allowing seamless control via compatible systems. Its energy-saving modes and precise temperature control ensure reduced energy consumption without compromising comfort. Ideal for modern homes, the T4 Pro offers a balance of advanced functionality and ease of use, making it a popular choice for upgrading heating and cooling systems.
1.2 Importance of Proper Installation
Proper installation of the Honeywell T4 Pro Programmable Thermostat is crucial for ensuring safe operation, optimal performance, and energy efficiency. Incorrect installation can lead to safety hazards, such as electrical issues or improper heating and cooling functionality. A correct setup guarantees accurate temperature control, which is essential for maintaining comfort and preventing energy waste. Additionally, proper installation ensures compatibility with your HVAC system, avoiding potential damage or reduced lifespan of components. Always follow the manufacturer’s guidelines and safety precautions to secure a reliable and efficient system. Improper wiring or setup can result in malfunctioning features, such as programmable scheduling or smart home integration, defeating the purpose of upgrading to this advanced thermostat.
Pre-Installation Requirements

Before installing the Honeywell T4 Pro Programmable Thermostat, ensure compatibility with your HVAC system, gather necessary tools, and follow safety guidelines to avoid electrical risks.
2.1 Safety Precautions
Before starting the installation, ensure the mains power is switched off to avoid electrical hazards. Verify the circuit breaker is reset and the power switch for the heating and cooling system is turned off. Always ensure the furnace door is closed securely to prevent accidental start-ups. Never attempt to work on live wiring, as this can lead to serious injury or death. Use appropriate tools and avoid touching electrical components with bare hands. If unsure about any step, consult a licensed electrician. Safety should always be the top priority when handling electrical systems.
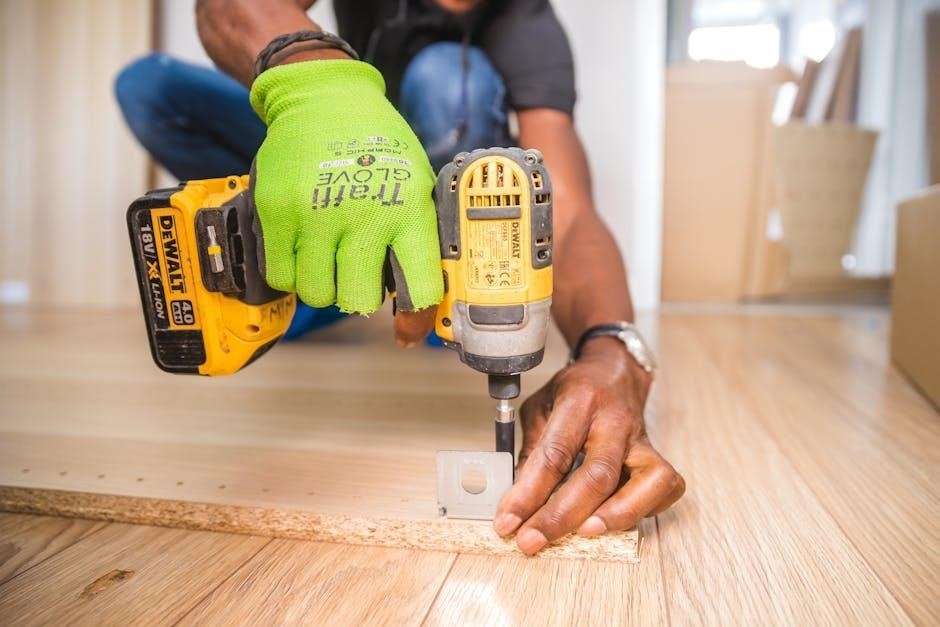
2.2 Tools and Materials Needed
To install the Honeywell T4 Pro Programmable Thermostat, you will need a screwdriver (both flathead and Phillips), pliers for wire handling, and wire strippers for preparing connections. Ensure you have a voltage tester to confirm power is off before starting. The thermostat typically includes a wallplate and mounting screws, but check if additional wall anchors (plastic or metal) are required for your wall type. A C-wire may be necessary for proper functionality, so verify if one is present in your system. Optional accessories like a cover plate or PROFIBUS pigtail cable may also be needed, depending on your setup. Always refer to the manual for specific requirements.
2.3 Compatibility Check
Before installing the Honeywell T4 Pro Programmable Thermostat, ensure it is compatible with your HVAC system. Verify that your system operates on 24V AC and is compatible with programmable thermostats. Check if your system requires a common wire (C-wire) for proper functionality, as some systems may not provide one. Additionally, confirm compatibility with heat pumps, multi-stage systems, or other specialized setups if applicable. Refer to the Honeywell T4 manual for specific compatibility details. If unsure, consult a licensed HVAC technician to avoid installation issues. Proper compatibility ensures optimal performance and energy efficiency.
Installation Steps
The Honeywell T4 installation involves turning off power, removing the old thermostat, preparing the wall, mounting the new unit, connecting wires, and testing functionality.
3.1 Preparing the Wall Location
Ensure the wall location is suitable for the Honeywell T4 thermostat. Choose a spot away from drafts, direct sunlight, and extreme temperatures. Verify that the area is level and clear of obstructions. Check that the power to the heating/cooling system is turned off at the circuit breaker. Use a voltage tester to confirm no power is present. If replacing an old thermostat, inspect the wall for any wiring issues or damage. Clean the area to ensure proper adhesion of the thermostat’s mounting plate. If necessary, drill holes or use anchors for secure installation. A correctly prepared wall ensures a stable and accurate thermostat operation.
3.2 Removing the Old Thermostat
Before removing the old thermostat, ensure the power to the heating/cooling system is turned off at the circuit breaker. Verify no power is present using a voltage tester. Gently pull the thermostat away from the wall to access the wiring. Carefully disconnect the wires from the old thermostat, noting their colors and positions for later reference. Remove any screws or clips securing the thermostat to the wallplate. Once detached, store the old thermostat and wires safely to avoid damage. If the old unit used a mounting plate, it may remain on the wall for the new installation. Label the wires if necessary to simplify reconnection during the T4 installation.
3.3 Understanding the Wiring Configuration
Understanding the wiring configuration is crucial for a successful installation. Start by identifying the wires connected to your old thermostat. The common wire (C) provides continuous power, while Rh and Rc control heating and cooling. Some systems may require a jumper between Rh and Rc. Label each wire before disconnecting them to ensure proper reconnection. Refer to the Honeywell T4 manual for specific terminal assignments. If unsure, consult a licensed electrician. Proper wiring ensures the thermostat functions correctly and avoids system malfunctions. Take your time to verify each connection before proceeding with the installation.
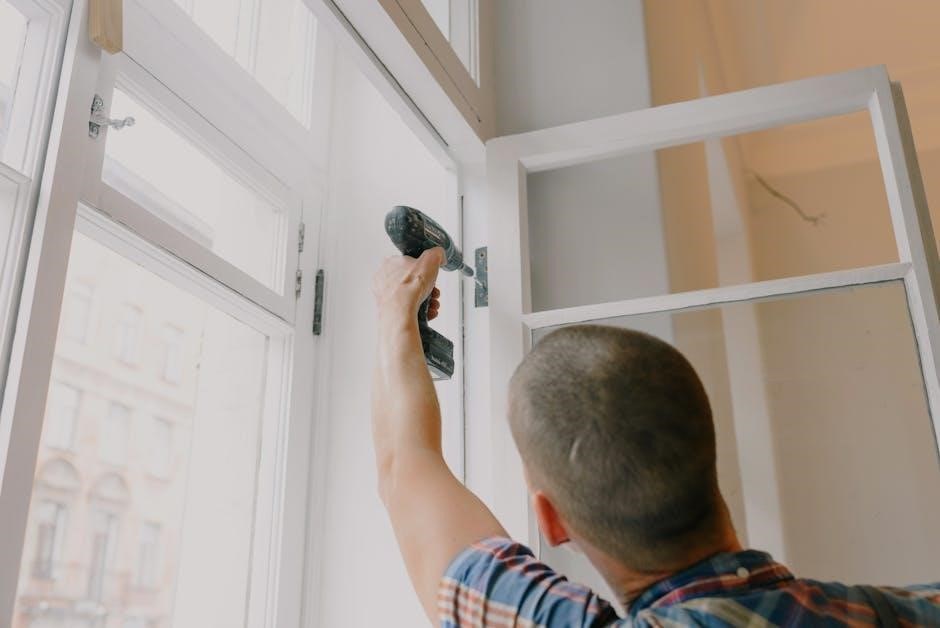
3.4 Mounting the T4 Thermostat
Mounting the Honeywell T4 thermostat begins with ensuring the wall location is prepared. Turn off the mains power and verify the area is clear of obstructions. Use the provided wall plate as a template to mark screw holes. If necessary, drill pilot holes to avoid damaging the wall. Secure the wall plate using the screws provided. Align the thermostat with the wall plate, ensuring it is level and evenly positioned. Gently snap the thermostat into place until it clicks securely. For a seamless look, install the optional cover plate if included. Double-check that the thermostat is firmly mounted and ready for wiring connections.
3.5 Connecting the Wires
Once the wall plate is securely mounted, carefully connect the wires to the corresponding terminals on the Honeywell T4 thermostat. Ensure the power is off at the circuit breaker before proceeding. Remove the old thermostat and label each wire according to its function (e.g., R, W, Y, G, C). Match the labeled wires to the correct terminals on the T4 thermostat, referring to the wiring diagram in the manual. Secure each wire firmly to prevent loose connections. Double-check that all wires are correctly paired with their respective terminals. Once connected, perform a quick system test to ensure proper functionality. If unsure, consult the Honeywell T4 installation guide for specific wiring configurations.
Initial Setup and Configuration
After installation, power up the thermostat and set the time, date, and basic settings like temperature and operating mode. Follow on-screen prompts for configuration.
4.1 Powering Up the Thermostat
Powering up the Honeywell T4 thermostat is a straightforward process. Once installed, ensure the power source is connected and the circuit breaker is in the “on” position. The thermostat’s display should light up, indicating it has power. If the display does not turn on, check the wiring connections and ensure the system switch is set to “on.” Use the menu navigation to confirm basic settings like time and date. If there’s no power, verify the circuit breaker or fuse box and ensure the thermostat is properly mounted. Once powered, the thermostat is ready for initial setup and configuration.
4.2 Setting the Time and Date
To set the time and date on the Honeywell T4 thermostat, press the Menu button and navigate to the TIME option. Use the arrow keys to adjust the time format (12-hour or 24-hour) and set the current time and date. Ensure accuracy for proper scheduling and energy management. Once set, the thermostat will maintain the correct time, even during power outages, thanks to its internal battery backup. This step is crucial for programming schedules and ensuring the thermostat operates efficiently according to your preferences. After confirming the time and date, exit the menu to save your settings and proceed with further configurations.
4.3 Configuring Basic Settings
After powering up the thermostat, configure the basic settings to tailor its operation to your needs. Set the temperature range, fan settings, and system mode (heat, cool, or auto). Use the arrow keys to adjust these settings. Ensure the correct temperature units (°F or °C) are selected. You can also enable features like adaptive recovery, which learns your system’s behavior to optimize heating and cooling. Additionally, set the fan operation to Auto or On for continuous airflow. Finally, confirm your selections and save the configuration. These settings ensure the thermostat operates efficiently and maintains your desired comfort levels. Proper configuration is essential for optimal performance and energy savings.

Advanced Features and Programming
The Honeywell T4 thermostat offers programmable scheduling, energy-saving modes, and smart home integration, allowing users to optimize comfort and energy efficiency through advanced customization and automation features.
5.1 Programmable Scheduling
The Honeywell T4 thermostat allows users to create customized temperature schedules, optimizing comfort and energy efficiency. With programmable scheduling, you can set different temperatures for various times of the day and days of the week. This feature enables you to reduce energy consumption when the house is unoccupied or during sleep hours. The thermostat supports up to four programmable periods per day, providing flexibility for diverse lifestyles. Additionally, the T4’s on-screen menu guides users through the scheduling process, making it easy to configure and adjust settings as needed. This advanced feature ensures your home remains comfortable while minimizing energy waste, aligning with both convenience and sustainability goals.
5.2 Energy-Saving Modes
The Honeywell T4 thermostat features energy-saving modes designed to optimize energy consumption while maintaining comfort. The “Away” mode allows you to turn off heating or cooling for a set number of days, reducing energy use when the home is unoccupied. Additionally, the “Standby” mode toggles the system on or off, providing quick control. The thermostat also includes an energy-saving function that learns your home’s heating patterns and adjusts temperatures to minimize waste. These modes ensure efficient operation, helping you save on energy bills without compromising on comfort. By utilizing these features, users can achieve a balance between energy efficiency and personalized temperature control, making the T4 a practical choice for eco-conscious homeowners.
5.3 Smart Home Integration
The Honeywell T4 Pro Programmable Thermostat seamlessly integrates with smart home systems, offering enhanced convenience and control. Compatible with popular platforms like Amazon Alexa and Google Home, it allows users to adjust settings and monitor their home’s temperature remotely through the Honeywell Home app. This integration enables voice commands, geofencing, and custom scenes, providing a tailored smart home experience. The thermostat’s on-screen menu and universal mounting system ensure compatibility with various HVAC systems, making it a versatile choice for modern households. By connecting to smart devices, users can optimize energy usage and enjoy a more intuitive way to manage their home environment, all while maintaining the simplicity of the thermostat’s design and functionality.

Troubleshooting Common Issues
The Honeywell T4 may face issues like no power, incorrect temperature readings, or wiring problems. Refer to the manual for detailed troubleshooting steps and solutions;
6.1 No Power to the Thermostat
If the Honeywell T4 thermostat has no power, start by checking the circuit breaker or fuse box to ensure the power supply is intact. Verify that the power switch for the heating or cooling system is in the “on” position. Additionally, ensure the furnace door is closed securely, as an open door can disable power to the thermostat. If the issue persists, check the thermostat’s mounting and wiring connections. Ensure the battery tab is removed and the thermostat is properly clipped onto the wallplate. Resetting the circuit breaker or replacing a blown fuse may resolve the issue. If none of these steps work, contact Honeywell support for further assistance.
6.2 Incorrect Temperature Readings
Incorrect temperature readings on the Honeywell T4 thermostat can occur due to sensor issues or improper installation. First, ensure the thermostat is installed away from drafts and direct sunlight, as these can affect accuracy. Check the sensor for dirt or debris and clean it if necessary. Verify wiring connections are secure and properly configured, as loose or incorrect wiring can cause faulty readings. Ensure the thermostat is mounted level on the wall to avoid misreadings. If issues persist, recalibrate the thermostat by following the on-screen menu instructions. If the problem remains unresolved, contact Honeywell support for further troubleshooting or potential sensor replacement. Accurate temperature control is crucial for optimal performance.
6.3 Wiring Issues
Wiring issues can disrupt the Honeywell T4 thermostat’s functionality. Common problems include loose or incorrect wire connections, which can prevent proper operation. Always ensure wires are securely attached to the correct terminals. Verify the wiring configuration matches the system requirements, as incorrect wiring can lead to malfunctions. If the display shows no power or erratic behavior, check the circuit breaker or fuse box to ensure power is restored. Consult the installation manual or manufacturer guidelines for specific wiring diagrams. If issues persist, contact Honeywell support for assistance or consider consulting a licensed electrician. Proper wiring is essential for optimal performance and safety.

Maintenance and Upkeep
Regularly clean the thermostat to prevent dust buildup and ensure accurate temperature readings. Check for firmware updates to maintain optimal performance and security.
7.1 Cleaning the Thermostat
To maintain the Honeywell T4 thermostat’s performance, clean it regularly. Turn off the power at the circuit breaker before cleaning. Use a soft, dry cloth to wipe the exterior and screen. Avoid harsh chemicals or abrasive materials. For stubborn marks, dampen the cloth slightly but ensure no moisture enters the device. Regular cleaning prevents dust buildup, ensuring accurate temperature readings and smooth operation. This simple maintenance step helps extend the thermostat’s lifespan and maintains its efficiency. Always power down the system before cleaning to avoid any risks or damage.
7.2 Updating Firmware
Regular firmware updates ensure the Honeywell T4 thermostat functions optimally. To update, visit Honeywell’s official website and download the latest firmware version compatible with your model. Turn off the power to the thermostat at the circuit breaker before starting the update process. Use a USB cable to connect the thermostat to your computer and follow the on-screen instructions to apply the update. Allow the process to complete without interrupting the power supply. Some updates may require the system to restart. Always use firmware from Honeywell’s official sources to avoid compatibility issues. Keeping the firmware updated enhances performance and adds new features to your thermostat.

Additional Resources
Access the Honeywell T4 manual online for detailed instructions. Visit Honeywell’s official website for support, troubleshooting guides, and firmware updates to ensure optimal thermostat performance and functionality.
8.1 Downloading the Honeywell T4 Manual
To download the Honeywell T4 manual, visit the official Honeywell website. Navigate to the support section and search for the T4 Pro Programmable Thermostat. Select your specific model from the list to access the downloadable PDF manual. Ensure you have the correct model number to avoid confusion. The manual provides comprehensive installation, setup, and troubleshooting guides. Additionally, it covers advanced features like programmable scheduling and smart home integration. Save the manual for future reference to maintain your thermostat effectively. Regularly check for updated versions to get the latest information and improvements.
8.2 Contacting Honeywell Support
Honeywell provides dedicated support for the T4 Pro Programmable Thermostat. Visit their official website and navigate to the support section to access contact options, including phone, email, and live chat. For immediate assistance, call their customer service hotline, available 24/7. You can also submit a support ticket online, detailing your issue for a prompt response. Additionally, Honeywell offers a comprehensive knowledge base and FAQs on their website to address common queries. For technical issues or troubleshooting, their support team is equipped to guide you through solutions. Ensure to have your thermostat model number ready for efficient assistance. Honeywell’s support resources are designed to help you resolve issues quickly and effectively, ensuring optimal performance of your T4 thermostat.
The Honeywell T4 Pro Programmable Thermostat is a reliable and efficient solution for managing your home’s temperature. With its user-friendly interface and advanced features, it offers a seamless experience for both installation and daily use. By following the installation manual and leveraging the thermostat’s programmable scheduling and energy-saving modes, you can optimize comfort while reducing energy consumption. Honeywell’s robust support system ensures assistance is available whenever needed. Proper maintenance and regular updates will keep your T4 thermostat performing at its best. Invest in the Honeywell T4 Pro Programmable Thermostat for a smarter, more energy-efficient way to control your home’s climate, backed by Honeywell’s trusted quality and support.