Welcome to the Honeywell TH8320U1008 Installation Manual, your comprehensive guide for installing, operating, and maintaining your programmable thermostat. This manual provides step-by-step instructions, troubleshooting tips, and essential safety information to ensure proper setup and optimal performance of your device.
Overview of the Honeywell TH8320U1008 Thermostat

The Honeywell TH8320U1008 is a touch screen programmable thermostat designed for compatibility with a wide range of HVAC systems. It offers advanced features like scheduling, energy-saving modes, and intuitive navigation. This thermostat is known for its user-friendly interface, making it easy to adjust settings and monitor energy usage. With its sleek design and programmable capabilities, it provides precise temperature control and enhances home comfort. The device supports various heating and cooling systems, ensuring versatility for different household needs. Its energy-efficient design helps reduce utility bills while maintaining optimal performance. Whether you’re looking to upgrade your current system or install a new one, the Honeywell TH8320U1008 is a reliable choice for modern home climate control.
Importance of Following the Installation Manual
Following the Honeywell TH8320U1008 installation manual is crucial for ensuring a safe, correct, and efficient setup of your thermostat. Proper installation prevents potential electrical hazards, system damage, and performance issues. The manual provides detailed, step-by-step instructions tailored to this specific model, ensuring compatibility with your HVAC system. Deviating from the guidelines may result in malfunction or safety risks. Additionally, the manual includes troubleshooting tips and maintenance recommendations to optimize performance and extend the thermostat’s lifespan. By adhering to the instructions, you can avoid common mistakes and ensure your thermostat operates efficiently, providing consistent temperature control and energy savings. Always prioritize safety by disconnecting power before starting the installation process, as outlined in the manual.
System Requirements and Compatibility
The Honeywell TH8320U1008 thermostat is compatible with most standard HVAC systems, including forced air, hydronic, and heat pump configurations. Ensure your system meets the specified voltage and wiring requirements for optimal performance.
Compatibility with HVAC Systems
The Honeywell TH8320U1008 thermostat is designed to work seamlessly with a wide range of HVAC systems, including forced air, hydronic, and heat pump configurations. It supports both single-stage and multi-stage systems, making it versatile for various home setups. The thermostat is also compatible with gas, oil, and electric furnaces, as well as central air conditioning units. Proper compatibility ensures efficient heating and cooling, while its universal design allows for easy integration with most existing HVAC equipment. Always verify your system’s specifications to ensure a smooth installation and optimal performance. This compatibility makes the Honeywell TH8320U1008 a reliable choice for homeowners seeking advanced temperature control.
Electrical Requirements for Installation
Before installing the Honeywell TH8320U1008 thermostat, ensure your system meets the necessary electrical requirements. Disconnect power to the HVAC system at the circuit breaker or fuse box to avoid any risks during installation. The thermostat requires a 24V AC power supply, typically provided by the HVAC system. A common (C) wire is necessary for proper operation, especially if your system relies on continuous power. If your existing wiring does not include a C wire, you may need to install one or use a compatible adapter. The thermostat can also function with optional batteries for backup power in case of an electrical outage. Always follow the manufacturer’s guidelines and consult a licensed electrician if unsure. Proper electrical connections are critical for safe and efficient operation of the thermostat.
Environmental Considerations for Installation
When installing the Honeywell TH8320U1008 thermostat, consider the environmental conditions to ensure optimal performance. The thermostat is designed to operate in temperatures between 32°F and 90°F (0°C and 32°C) and should be installed in a location with average humidity levels. Avoid placing the thermostat in areas exposed to direct sunlight, moisture, or extreme temperature fluctuations, as this may affect its accuracy. Additionally, ensure the thermostat is mounted on a flat, stable surface away from drafts or vents. Proper environmental conditions will help maintain the thermostat’s functionality and extend its lifespan. Always follow the manufacturer’s recommendations for installation locations and environmental specifications to ensure reliable operation of your Honeywell TH8320U1008 thermostat.
Installation Steps
Disconnect power, mount the thermostat, connect wires carefully, and perform final checks to ensure proper installation. Follow the manual for precise instructions and safety guidelines throughout the process.
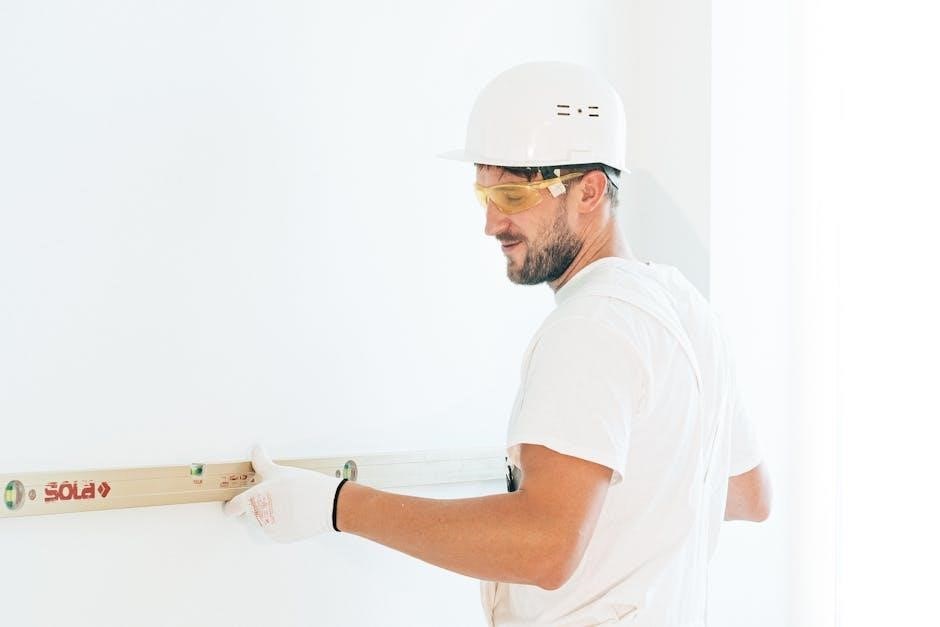
Pre-Installation Checks
Before starting the installation, ensure the power to your HVAC system is disconnected for safety. Verify that the Honeywell TH8320U1008 is compatible with your existing HVAC system and electrical setup. Review the manual to understand the required tools and materials. Check for any damage to the thermostat or packaging. Ensure the area where the thermostat will be mounted is clean and free from obstructions. If replacing an old thermostat, remove any leftover adhesive or marks to ensure proper mounting. Confirm that the system’s voltage matches the thermostat’s requirements. If unsure, consult a licensed technician. Finally, ensure all necessary accessories, such as batteries, are available if required for backup power. These steps ensure a smooth and safe installation process.
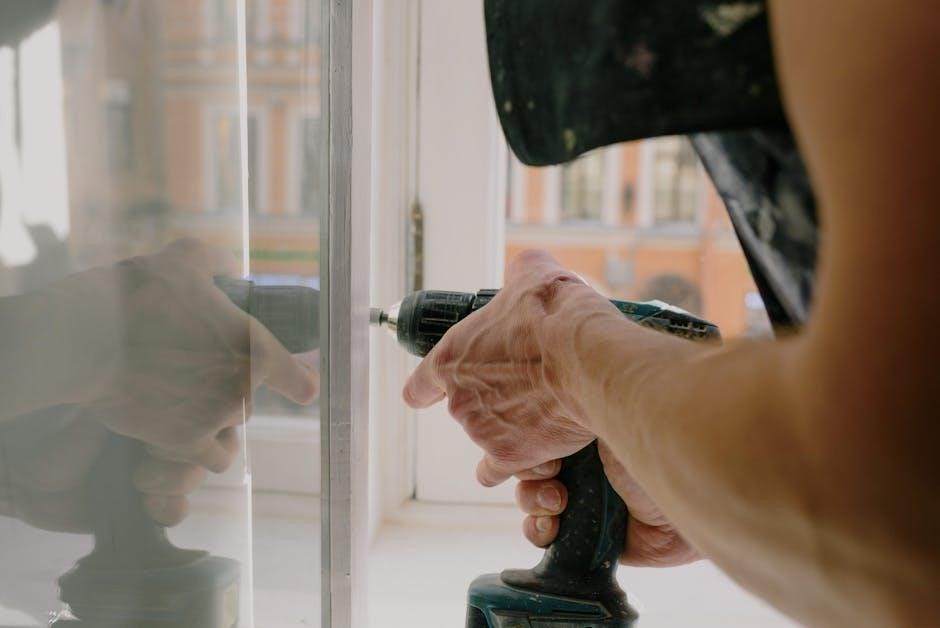
Mounting the Thermostat
Begin by ensuring the area is clean and free of debris; Remove the old thermostat and any remaining adhesive using the provided template or a suitable cleaning solution. Locate the mounting bracket and attach it to the wall using the screws provided. Ensure the bracket is level for proper installation. Gently pull the wires through the bracket, taking care not to damage them. Secure the wires to the bracket to prevent them from being pinched. Mount the thermostat onto the bracket by aligning the tabs and gently snapping it into place. Ensure the thermostat is securely fastened; If necessary, use the optional trim plate to cover any marks left by the previous thermostat. Double-check that the thermostat is level and properly seated before proceeding to wiring. This ensures a stable and professional installation.
Wiring and Connections
Before proceeding with wiring, ensure the power to your HVAC system is turned off at the circuit breaker. Locate the terminal labels on your existing wiring and match them to the corresponding terminals on the Honeywell TH8320U1008. Use the provided wiring labels or stickers to mark each wire for easy identification. Gently pull the wires through the thermostat mounting bracket, taking care not to damage the insulation. Connect each wire to the appropriate terminal on the thermostat, ensuring secure and tight connections. Refer to the wiring diagram in the manual for specific terminal assignments. If your system requires a common wire (C), ensure it is properly connected to maintain consistent power. Avoid crossing or pinching wires during installation. Once all connections are made, double-check for accuracy and tighten all terminal screws firmly. If unsure, consult a licensed electrician or the installation manual for clarification. Proper wiring ensures reliable thermostat performance.
Final Installation Checks
After completing the wiring and mounting, perform a series of final checks to ensure proper installation. Turn the power to your HVAC system back on at the circuit breaker. Verify that all wires are securely connected and that no terminals are loose. Check that the thermostat is level and firmly mounted on the wall. Review the wiring labels to confirm accuracy and ensure no wires are pinched or damaged. Power on the thermostat and test its basic functions, such as adjusting the temperature and switching between heating and cooling modes. Ensure the display is responsive and all buttons function correctly. If applicable, verify that the backup batteries are installed and providing power. Finally, review the installation manual to confirm all steps were followed correctly. These checks ensure your Honeywell TH8320U1008 is installed safely and operates efficiently. Proper completion of these steps guarantees optimal performance and prevents potential issues.
Powering Up the Thermostat
Once the installation is complete, restore power to your HVAC system at the circuit breaker. Ensure all wiring connections are secure and properly tightened. If your Honeywell TH8320U1008 uses batteries, install them as specified in the manual to provide backup power during outages. With the power restored, turn on the thermostat and check for proper operation. Verify that the display lights up and responds to button presses. Test the thermostat by adjusting the temperature settings and ensuring the HVAC system responds accordingly. If the thermostat was wired to run on AC power, it should now function without batteries. If issues arise, refer to the troubleshooting section of the manual. Proper power-up ensures your thermostat is ready for programming and daily use, providing reliable temperature control for your home. Always follow safety guidelines when working with electrical systems.
Operating the Honeywell TH8320U1008 Thermostat
The Honeywell TH8320U1008 thermostat offers intuitive operation with its touch screen interface, allowing users to easily manage temperature settings for optimal comfort and energy efficiency.
Basic Operations and Navigation
The Honeywell TH8320U1008 thermostat features a user-friendly touch screen interface designed for easy navigation. Upon powering up, the home screen displays the current temperature, set temperature, and system mode. Users can adjust the temperature by tapping the “+” or “-” icons. The menu button provides access to scheduling, system settings, and advanced features. The thermostat allows switching between heating, cooling, and off modes with a single touch. The home screen also shows the current time and date, ensuring convenience. For basic operations, users can set a permanent hold to maintain a specific temperature or use the temporary hold for short-term adjustments. The interface is intuitive, making it easy for homeowners to navigate and customize their comfort settings without needing advanced technical knowledge. Refer to the manual for detailed instructions on optimizing these features.
Scheduling and Programming
The Honeywell TH8320U1008 thermostat offers advanced scheduling and programming features to optimize your home’s comfort and energy efficiency. Users can create a 7-day schedule with up to four time periods per day, allowing precise temperature control tailored to their lifestyle. The thermostat also features an “Energy Savings” mode, which automatically adjusts settings to reduce energy consumption. Programming is straightforward, with a touch screen interface that guides you through setting preferences. Additionally, the thermostat supports vacation scheduling, enabling you to set a temporary schedule when you’re away. These features ensure your system operates efficiently, saving energy and reducing utility bills. For detailed instructions on setting up schedules and programming, refer to the manual. Proper configuration will help you maximize the thermostat’s capabilities and enjoy consistent comfort year-round.
Advanced Features and Settings
The Honeywell TH8320U1008 thermostat boasts a range of advanced features designed to enhance comfort and energy efficiency. Its touch screen interface allows for intuitive navigation through settings, including energy-saving modes and custom temperature adjustments. One notable feature is the “Smart Recovery” mode, which learns your system’s performance to reach desired temperatures efficiently. Additionally, the thermostat supports geofencing, enabling location-based temperature adjustments for optimal energy use. Humidity control settings are also available, ensuring balanced indoor air quality. For added convenience, the thermostat can be integrated with smart home systems, offering remote access and voice control capabilities. These advanced features empower users to tailor their heating and cooling systems to specific needs, maximizing comfort while minimizing energy consumption. Refer to the manual for detailed instructions on configuring these settings to unlock the full potential of your thermostat.
Maintenance and Troubleshooting

Regular maintenance ensures optimal performance. Clean the thermostat screen and check battery levels. For issues, refer to troubleshooting guides for common problems like wiring or power issues.
Routine Maintenance Tasks
Regular maintenance is crucial for the Honeywell TH8320U1008 thermostat to function efficiently. Start by cleaning the touchscreen display with a soft cloth to remove dirt and fingerprints. Check the battery levels if your thermostat uses batteries for backup power. Ensure the device is properly powered, either through AC power or batteries, to avoid any interruptions. Additionally, review the wiring connections periodically to ensure they are secure and free from damage. It is also recommended to update the thermostat’s software whenever new updates are available to maintain optimal performance and access the latest features. By following these routine tasks, you can extend the lifespan of your thermostat and ensure it continues to regulate your HVAC system effectively.

Troubleshooting Common Issues
Troubleshooting your Honeywell TH8320U1008 thermostat can resolve many common issues. First, ensure the device is properly powered. If it’s not turning on, check the circuit breaker or fuse. For display issues, restart the thermostat by removing and reconnecting the power. If the screen is blank, verify that the batteries (if used) are installed correctly. Wiring problems can cause malfunction; inspect connections for damage or looseness. Temperature inaccuracies may require recalibrating the sensor. If the thermostat fails to control your HVAC system, ensure it is programmed correctly and that the system is compatible. For software-related issues, perform a factory reset or update the firmware. Always refer to the manual for specific error codes and solutions. If problems persist, contact Honeywell support for assistance or warranty repairs.
With proper installation and maintenance, your Honeywell TH8320U1008 thermostat will provide reliable temperature control and energy efficiency. Refer to the manual for optimal performance and troubleshooting guidance.
Final Tips for Optimal Performance
To ensure your Honeywell TH8320U1008 thermostat operates efficiently, regularly clean the screen and sensors. Update software when available and maintain a consistent schedule. Proper installation and adherence to manual guidelines will enhance performance and longevity. Always refer to the manual for troubleshooting and maintenance tips to keep your system running smoothly.
Resources for Further Assistance
For additional support, visit the official Honeywell website to download the Honeywell TH8320U1008 installation manual PDF. This resource provides detailed instructions, troubleshooting guides, and technical specifications. Contact Honeywell customer support at 1-800-468-1502 for personalized assistance. You can also email techsupport@honeywell.com for technical inquiries. Refer to the warranty information in the manual for repair or replacement options. Online forums and authorized Honeywell dealers offer further guidance and accessories. Ensure to register your product on Honeywell’s website for updates and exclusive benefits. These resources will help you maximize the functionality and longevity of your thermostat.